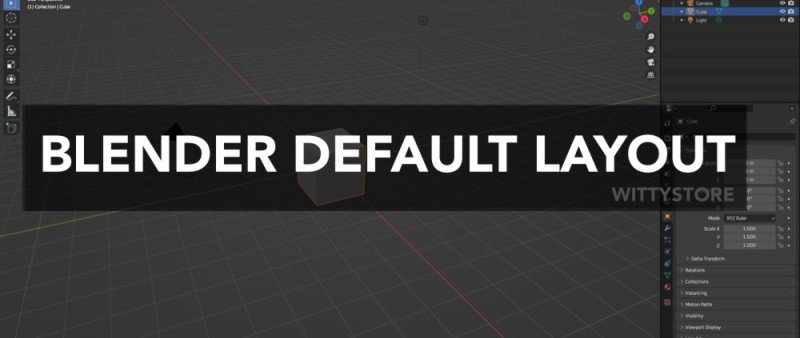
When launching Blender, users are greeted with the default layout after closing the splash screen. This default layout serves as the full workspace, which is loaded automatically every time Blender is opened, unless any customizations have been made. To confirm that you are in the default layout, you can also check the top bar, where the "Layout" option will be highlighted.
The most prominent element of the default layout is the 3D viewport, occupying a significant portion of the screen. This viewport provides users with a point of view within the scene, allowing them to manipulate and interact with 3D objects. By default, the scene in Blender includes a 3D model of a gray cube, placed at the center of a grid floor. Additionally, there is a light source and a camera, which are essential elements for rendering and creating realistic scenes.
The user interface of Blender also includes the top bar at the top of the screen and the status bar at the bottom. The top bar acts as a menu, providing access to various functions and options within Blender. On the other hand, the status bar contains essential information about the current state of the software, such as the mode you are in or the selected object's name.
Apart from these fixed bars, the Blender layout is further divided into rectangles called areas. These areas serve as distinct regions within the interface, each with its specific purpose and set of tools. Different areas can contain essential tools and functions necessary for 3D modeling, animation, and rendering as for example the 3D viewport, the properties editor, the outliner, the timeline, the tool shelf, and more, depending on the user's preferences and the tasks at hand.
Blender default layout has a user-friendly interface designed to make it easy for beginners to get started with the software.
3D Viewport
The 3D Viewport is the primary workspace in Blender, where users can create and edit 3D objects. It is located in the center of the default layout and is the most prominent section of the interface. The 3D Viewport contains several tools for manipulating objects, including the Viewport Navigation tools, Object Mode, Edit Mode, and Sculpt Mode.
Properties Editor
The Properties Editor is located on the right side of the default layout. It provides access to the properties of selected objects, such as materials, textures, and lighting. The Properties Editor also contains various menus for adjusting the interface's settings, including Display, Scene, Output, and Render.
Outliner
The Outliner is located on the left side of the default layout. It provides an overview of all the objects in the scene, including cameras, lights, and meshes. The Outliner allows users to select and manipulate objects quickly.
The Timeline is located at the bottom of the default layout. It provides access to the animation and timeline tools, allowing users to animate objects and create keyframes. The Timeline also contains menus for setting up the scene's frame rate and duration.
Tool Shelf
The Tool Shelf is located on the left side of the 3D Viewport. It contains various tools for creating and editing objects, including the Add Object tool, the Transform tool, and the Modifier tool. The Tool Shelf also contains several tabs for accessing different types of tools, such as Mesh Editing, Sculpting, and Texture Painting.
Status Bar
The Status Bar is located at the bottom of the interface and provides information about the current state of the software. It displays the current mode, the frame rate, the selected object's name, and the number of objects in the scene.
Top Bar
The Blender top bar is a fixed menu located at the top of the Blender interface. It provides users with quick access to various functions and options within Blender. The content and options available in the top bar can change depending on the active workspace or mode.
The top bar includes several menus and buttons that allow users to perform common tasks and access important features. Here are some of the key components typically found in the Blender top bar:
1. File Menu: This menu contains options for opening, saving, and exporting files, as well as managing presets and preferences.
2. Edit Menu: The edit menu provides options for editing objects, such as copying, pasting, duplicating, and deleting.
3. Add Menu: This menu allows users to add different types of objects, such as meshes, curves, lights, cameras, and more, to the scene.
4. Object Menu: The object menu provides options for manipulating and managing objects in the scene, including options for transforming, grouping, and parenting objects.
5. View Menu: The view menu offers various options for controlling the viewport's display and navigation, such as changing the perspective, enabling different types of views (orthographic or perspective), and adjusting the camera settings.
6. Select Menu: The select menu contains tools and options for selecting objects or specific components of objects, such as vertices, edges, or faces.
7. Layout Menu: The layout menu allows users to switch between different predefined layouts or create custom layouts to suit their workflow preferences.
8. Render Menu: This menu includes options for configuring and controlling the rendering process, such as setting render settings, choosing render engines, and adjusting output parameters.
9. Window Menu: The window menu provides options for managing multiple editor windows, splitting and merging windows, and adjusting window-related settings.
In addition to these menus, the top bar may also include context-sensitive buttons and settings related to the active tool or mode. It serves as a convenient and accessible location for performing various actions and accessing important features within Blender.
Conclusion:
The default layout provides a starting point for accessing the software's various tools and functions. By exploring the different sections of the default layout, including the 3D Viewport, the Properties Editor, the Outliner, the Timeline, the Tool Shelf, and the Status Bar, users can create stunning 3D visualizations, animations, and virtual worlds.
If you want to learn more about this topic please read also the related article: A Guide to Blender Areas, Editors, and Workspaces: Optimizing Workflow Efficiency
Author: E.Mulas


